.jpg)
BE THE FIRST TO GET PRODUCT UPDATES
Get notified about new features & special offers......

To test vertical jump, pick one valid method and use it the same way every time. The common options are a wall and chalk, a Vertec, a jump mat, a force plate, a phone app, or a wearable sensor. Run a standardised warm-up, have the athlete perform a countermovement jump, record the best of three attempts, and compare the result against a baseline or normative data. The method you choose matters, but how you run it matters just as much.
That second point is where most jump testing quietly falls apart. What you get out of a jump test is only ever as good as the process you put in. This guide covers why the vertical jump is worth testing, how the methods compare on accuracy, speed and cost, the protocol step by step, and the system that turns a jump height into a decision you can trust.
The short version
Few tests give you so much for so little. A vertical jump is safe, quick, needs no external load, and asks almost nothing technical of the athlete, which means you can test a whole squad without eating into a session or risking anyone.
It is also a clean window into lower-body power and neuromuscular function. Jump height reflects how much force an athlete can produce quickly, and it relates to qualities coaches care about elsewhere, including sprinting, change of direction, and strength. Test it well and you get a single number that says something useful about the athlete underneath it.
The same test does a second job. Because a jump is sensitive to fatigue, a drop in jump performance can flag that an athlete is not fully recovered before a session begins. That makes the vertical jump both a performance test and a readiness check, which is a rare combination and a large part of why it has become a staple in strength and conditioning.
There is no single correct device, only the one that fits your accuracy needs, your squad size and your budget. For the most accurate reading, the force plate is the benchmark. For the best balance of accuracy, speed and cost when assessing a whole group, a validated wearable sensor is hard to beat. The table below compares the common ways to assess jump height on the things that decide which one belongs in your gym: how much they rely on human judgement, how accurate they are, how quickly they clear a group, and the value they return for the cost.
A few things are worth drawing out. The wall and Vertec both rely on a person reading a height and on the athlete timing a reach, so they measure jump-and-reach skill as much as jumping. Jump mats and phone apps remove some of that by using flight time, though flight time can be fooled by a tucked or extended landing, and apps are slow once you have a full group to get through.
The force plate is the accuracy benchmark, and rightly so. It measures the forces produced throughout the jump, not just the height, which gives you peak force, rate of force development and power. The trade-off is that it is fixed, expensive, and slow to move a squad across one plate.
That trade-off is the reason the Output sensor comes out on top for everyday testing rather than research. Independent studies have tested it for both validity and reliability against gold-standard systems: one assessed the sensor against VALD ForceDecks for countermovement and squat jumps in elite basketball players, and another validated the inertial unit for jump performance. A wearable also tests dozens of athletes in minutes rather than one at a time, up to 40 for jump height and reactive strength in under seven minutes including warm-up. For most coaches, that combination of objective, accurate and fast is the test that actually gets done. You can read more on the vertical jump testing approach and the validation behind it.
For most testing, take the skill out of it.
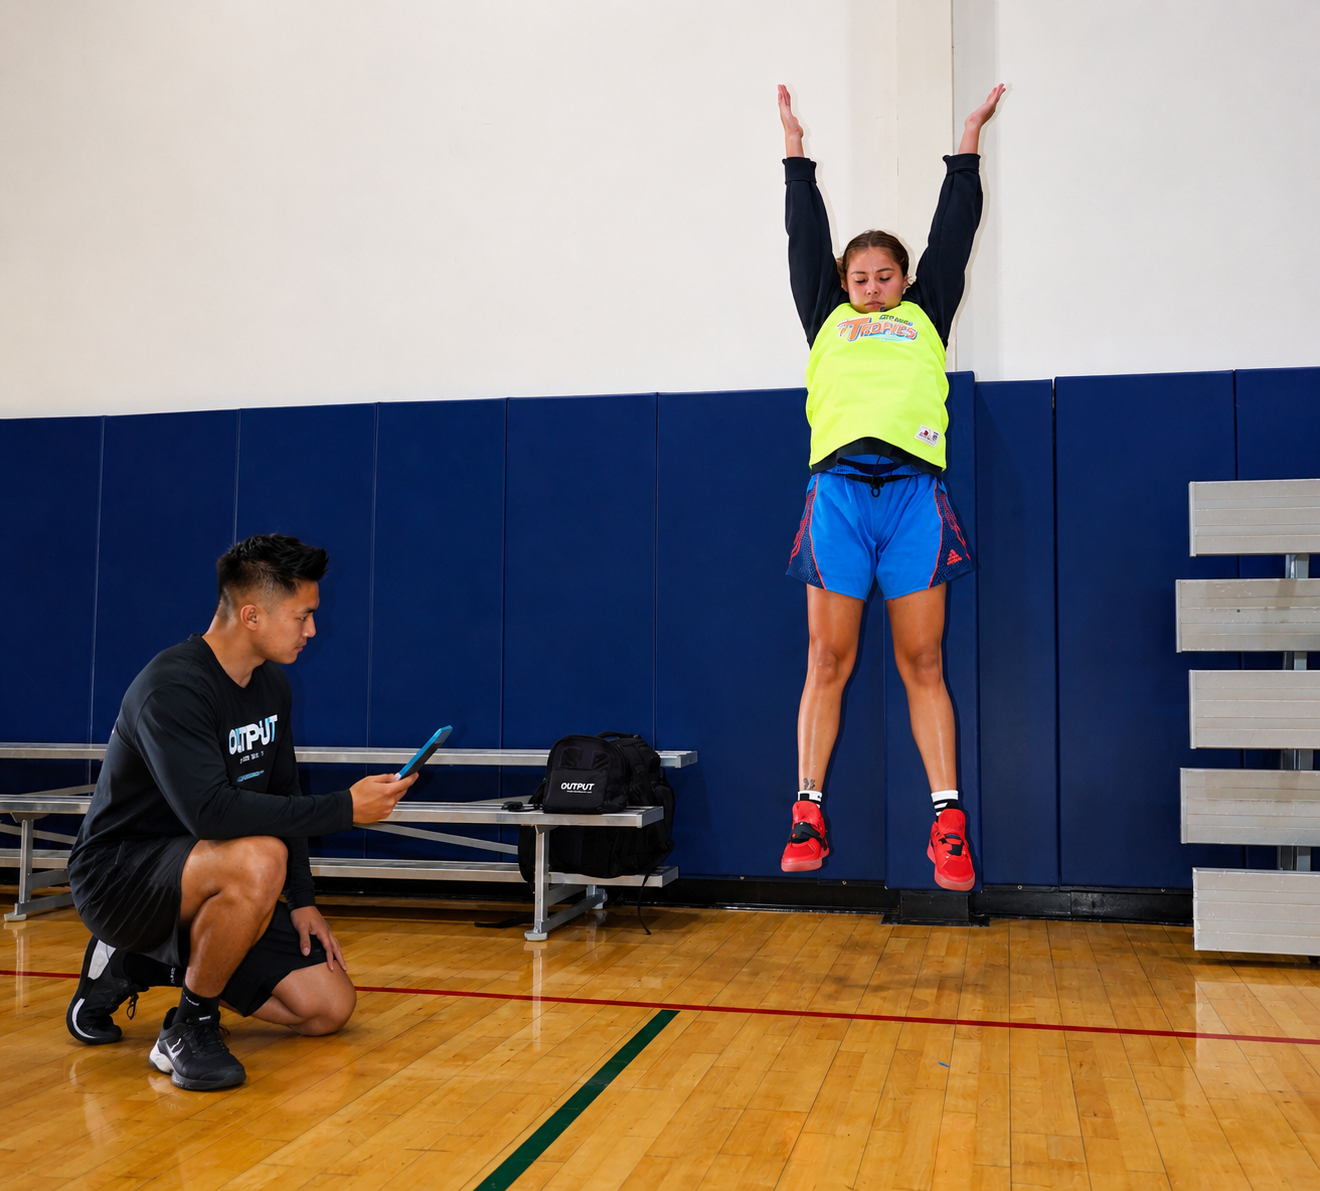
An approach run and an arm swing will add real height to a jump, often ten per cent or more. The problem is that the extra height comes from coordination and timing, not just from the legs. When you let the athlete swing and step into it, you are measuring jumping skill and physical capability mixed together, and you can no longer tell which one changed between tests.
A standardised static jump strips that back. Hands stay on the hips, no run-up, and you are left looking at the physical engine: how much force the lower body can produce and how fast. That isolation is exactly what you want for two reasons. It makes the test more reliable, because there is less technique to vary from day to day, and it makes the test more sensitive, because a real change in the legs is not hidden behind a better or worse arm swing. Research comparing jump variations bears this out, with the arm-swing version showing more measurement bias than the hands-on-hips version.
None of this rules out the approach jump. There is a case for testing both: the static jump shows whether the athlete is producing more force, and the approach jump shows whether that extra force transfers to the skilled action that matters in competition. If you can only run one, make it the hands-on-hips jump. It removes the skill component that drives most of the day-to-day fluctuation, leaving a more stable read on physical capability.
Whatever device you use, the protocol is what makes the number trustworthy.
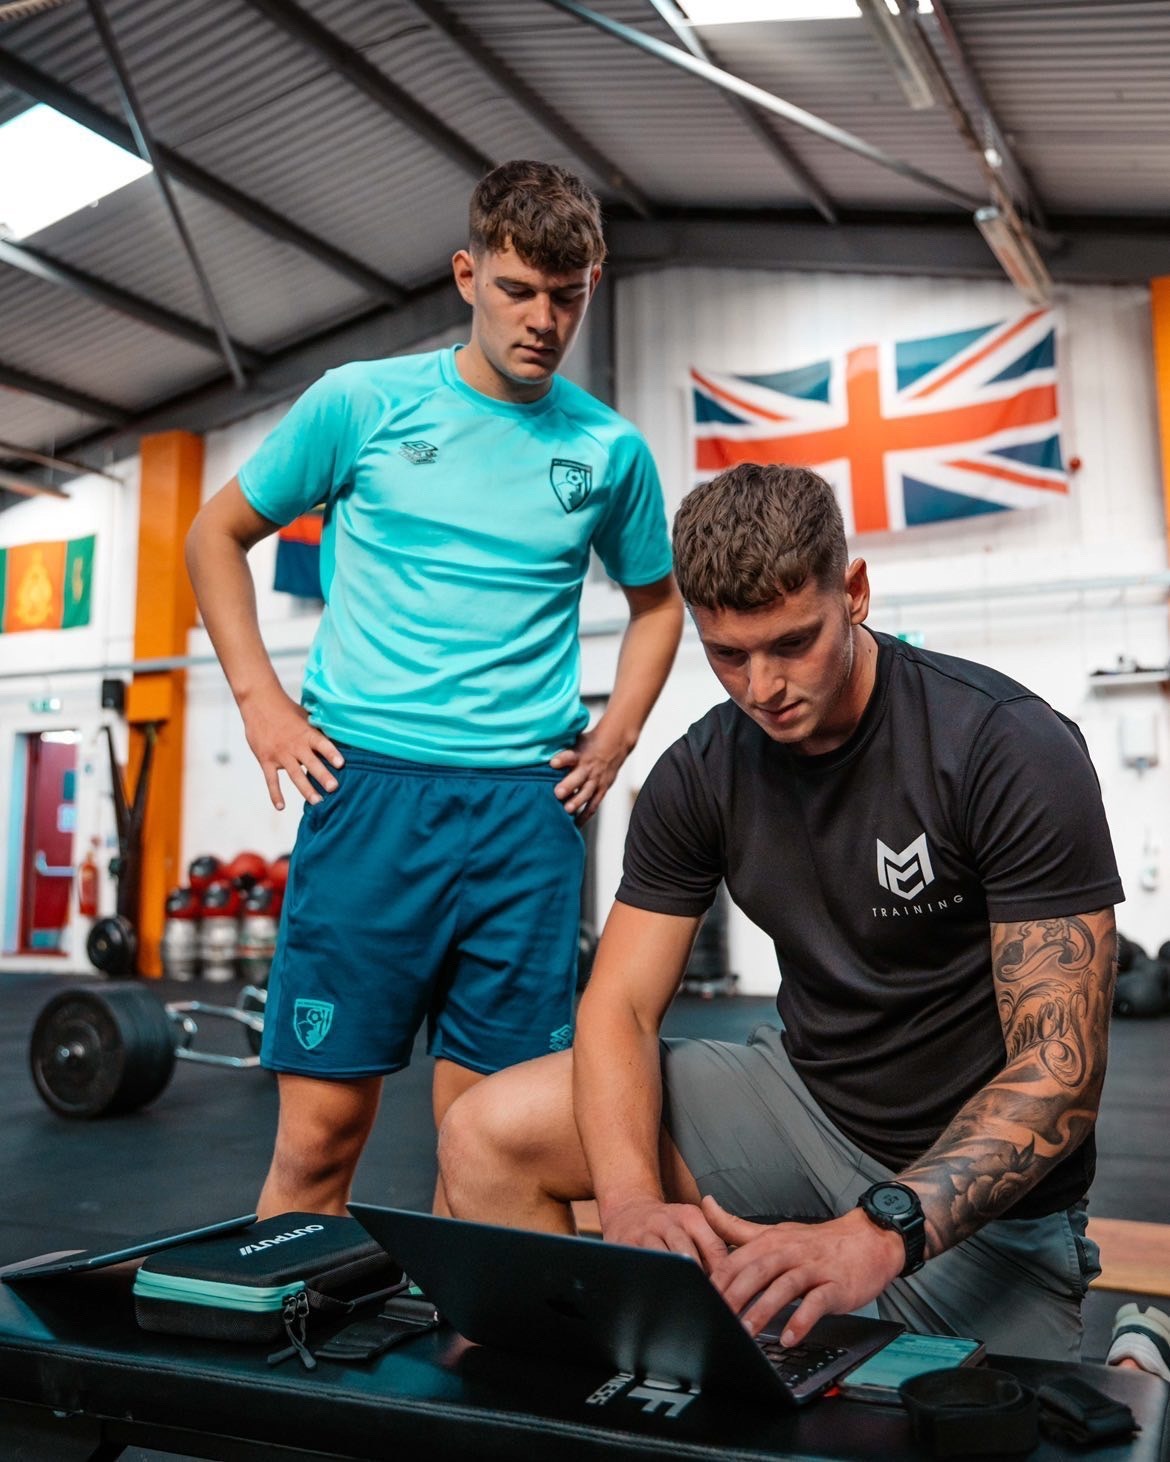
Use a device you can trust. The validation above shows the sensor stands up against gold-standard force plates, so accuracy is not the question here. The point is that the device is only half of a good test. The other half is how you run it. Hand the same sensor to two coaches and you can get data of very different quality, depending on how tightly each one controls the protocol.
This is what data out equals data in really means. Control the inputs and you get outputs you can act on: the same warm-up, the same jump, the same cues, the same conditions, every time. Let those slip and you get noise dressed up as numbers, however good the device. High-quality, controlled inputs are what produce high-quality data.
That system looks like this:

Run the process tightly and a validated device gives you data you can trust. Skip it and even the best one gives you noise.
A jump of 38 centimetres tells you very little by itself. It only means something against a reference.
There are two references worth using. The first is normative data: how this result compares to a wider population of athletes, ideally ones similar to yours in sport, level, age and sex. Norms tell you roughly where an athlete sits and what good looks like. You can compare results against normative jump data from thousands of athletes to place a number in that wider context, with the caveat that the norm population should resemble your athletes for the comparison to hold.
The second reference, and the more powerful one for day-to-day work, is the athlete's own baseline. Change against an individual's own history is what tells you whether training is working or whether fatigue is building. Norms tell you where someone stands; the baseline tells you which way they are moving. Use both.
Two jobs, two frequencies. Test daily or before key sessions for readiness, and every six to twelve weeks for performance.
For readiness, watch the change against baseline rather than the raw number, and let a meaningful drop prompt you to adjust the session. Output is built for this frequent, low-friction load monitoring and readiness check, where a few seconds on a jump flags fatigue early.
For performance, you are measuring adaptation rather than daily noise. The two purposes can share a device, but they answer different questions.
What is the best way to test vertical jump? The most accurate method is a force plate, which measures the forces behind the jump, not just the height. For real-world testing across a group, a validated wearable sensor offers comparable accuracy with far more speed and portability. The best method is the most accurate one you will actually use consistently.
How do you measure vertical jump at home? Stand side-on to a wall, reach up and mark your standing reach, then jump and mark the highest point you touch with chalk on your fingertips. The difference between the two marks is your jump height. It is rough, but used the same way each time it will track change.
Should you use an arm swing when testing vertical jump? For assessing physical capability, no. Keep your hands on your hips so you measure the legs rather than jumping skill. Use an arm swing or approach only when the sport-specific jump itself is what you are assessing.
How many attempts should you record? Three maximal jumps with short rest is standard. Record either the best or the mean, and apply the same rule consistently across athletes and sessions.
Countermovement jump or squat jump, which should I use? A countermovement jump is the better default, as it reflects how athletes jump in most situations and is simple to standardise. A squat jump removes the countermovement, which is useful when you specifically want to separate concentric ability from the elastic contribution.
How accurate are jump mats and apps compared to force plates? Both can agree closely with a force plate for jump height, but they rely on flight time, which can be skewed by landing position, and apps are slow for a group. Force plates remain the accuracy benchmark and add force, power and rate of force development on top of height.
For a group, the device decision shifts. The accuracy gap between a good field tool and a force plate is small; the gap in speed and admin is not, and a method that tests one athlete at a time quietly limits how often you test. Infrequent testing is the real enemy of good data. If that is your problem, see how Output handles fast, objective vertical jump testing at squad scale.
Whatever you land on, the rule holds: choose a reliable test, run it the same way every time, give the number context, and let the trend, not a single jump, drive the decision.

.png)
Monthly performance insights, product updates, and sports science — straight to your inbox.
No spam, ever. Unsubscribe anytime.
No thanks, I'm not interested